Roster
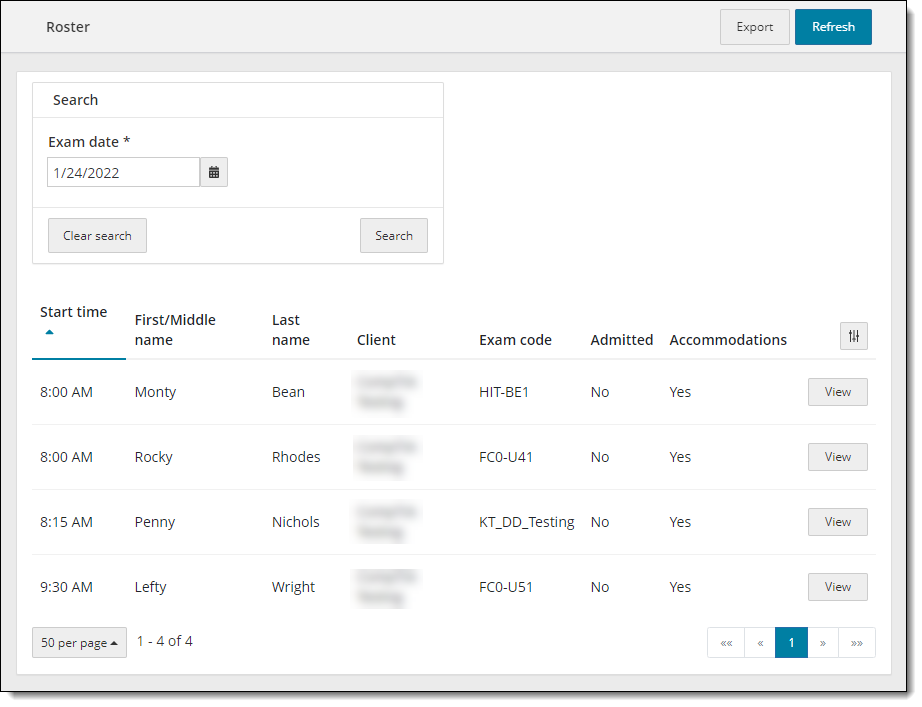
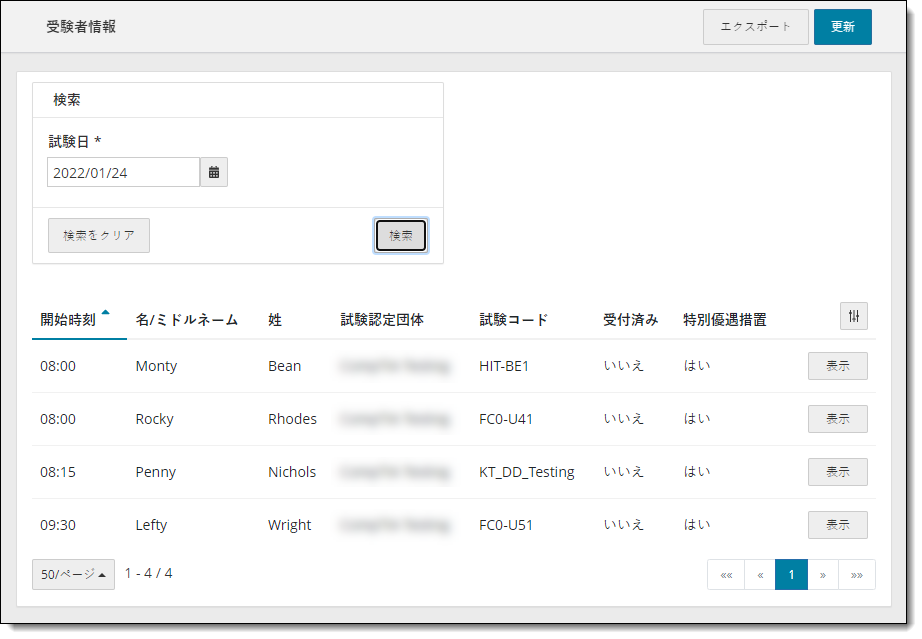
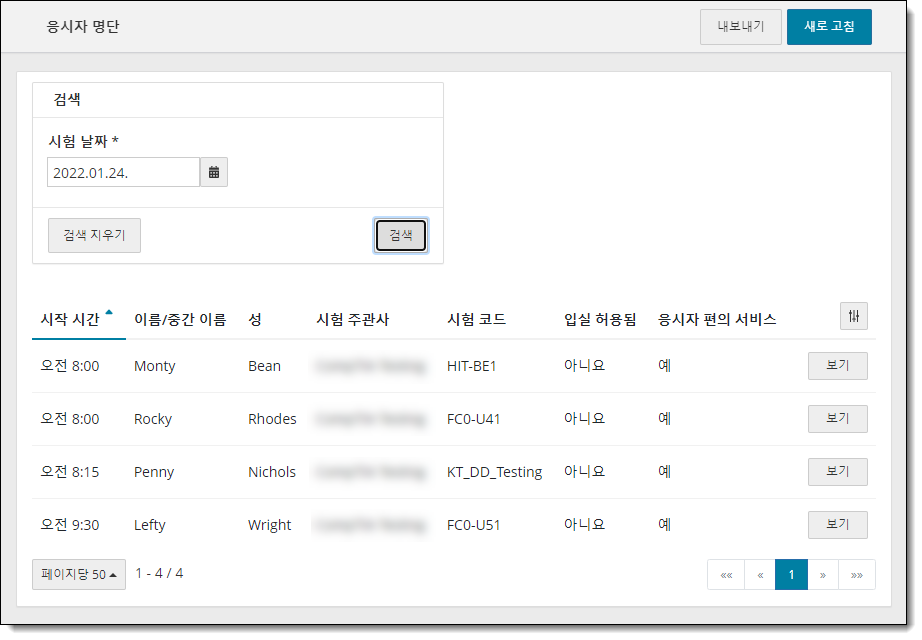
The Roster in the Availability category displays a list of candidate appointments that are scheduled for an exam at your site on a specific day.
By default, the roster displays all candidate appointments in a table format that are scheduled for an exam on the current day. You can view the roster for another day by selecting the date from the calendar picker. You can view the roster up to two weeks before the current date, or two weeks after the current date.
View the roster
- Select the Availability category.


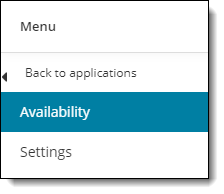
- Select the Roster menu.


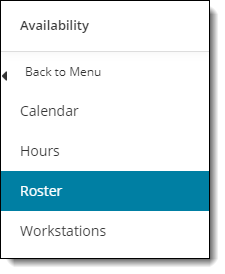
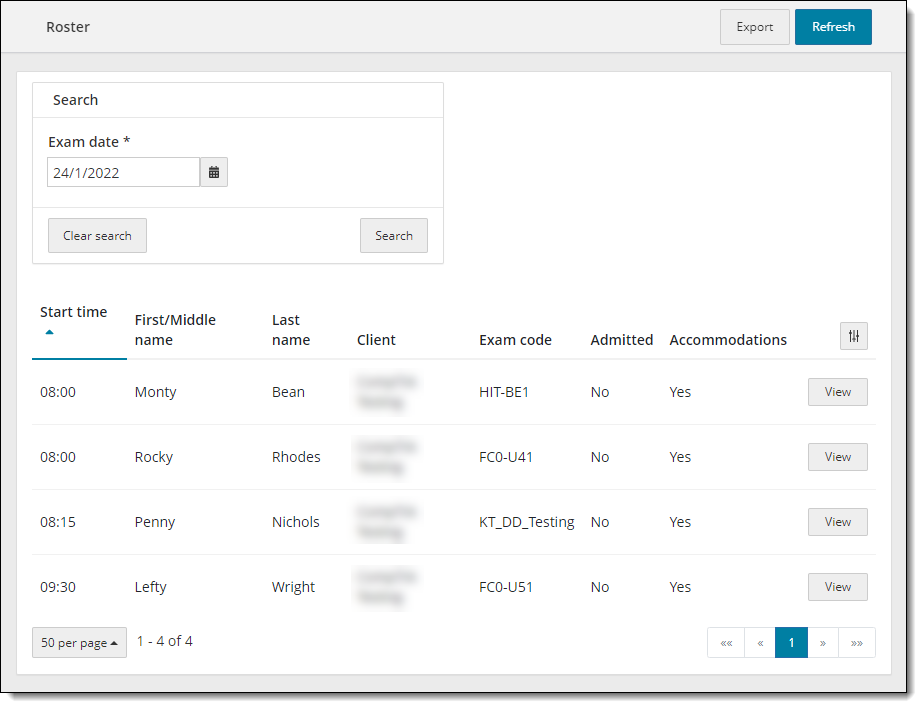
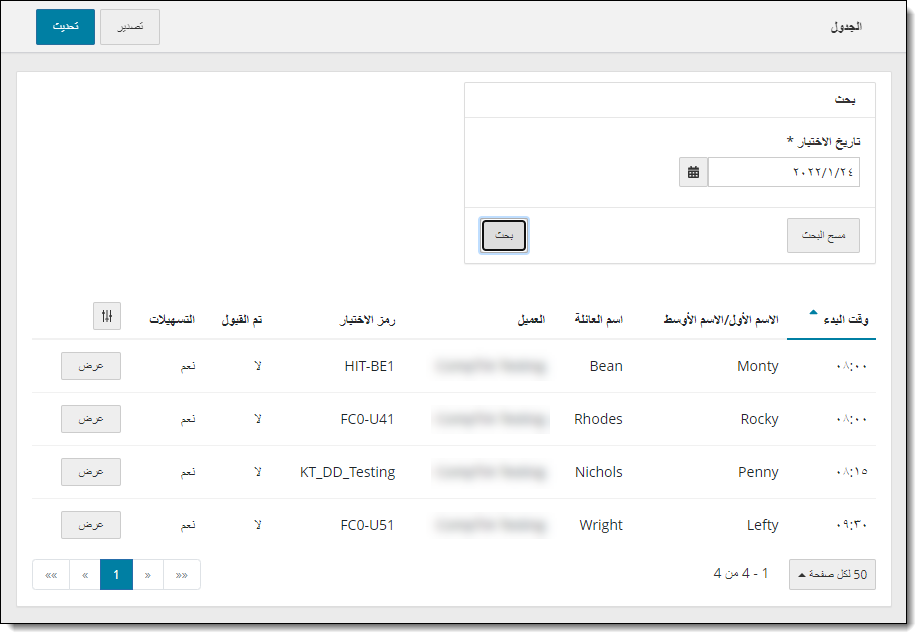
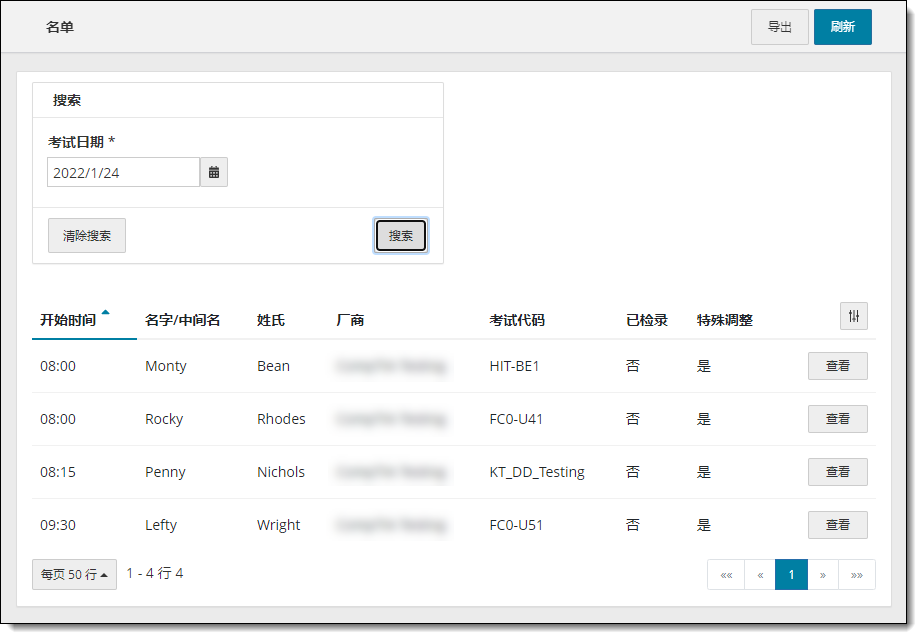
- By default, the Roster page displays all candidates who are scheduled for an exam on the current day in a table format sorted in ascending order by Start time.


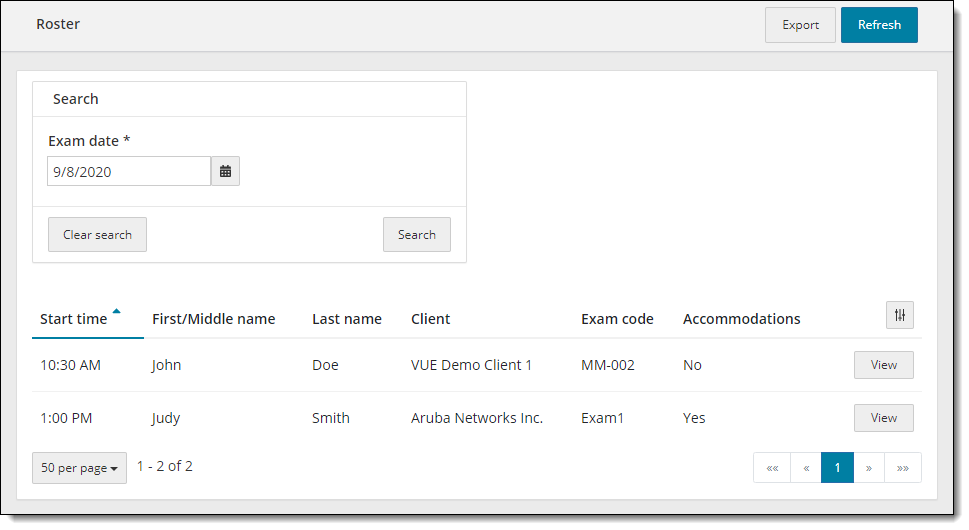
- The Roster list includes the following information about each candidate registration:
|
COLUMN |
DESCRIPTION |
|
Start time |
The time at which the candidate is scheduled to begin the exam. |
|
First/Middle name |
The first and middle name of the candidate. |
|
Last name |
The last name of the candidate. |
|
Client |
The name of the exam sponsor offering the exam. |
|
Exam code |
The identification code or number assigned to the exam. |
|
Accommodations |
Identifies if the candidate has approved accommodations for the exam. For more information about accommodations, see the Handling accommodations in the VUE Testing System topic in the Pearson VUE Authorized Test Center Policies and Procedures guide. See the exam sponsor's client reference for information about the accommodations offered by the exam sponsor. |
|
View |
The View button allows you to view candidate registration details including candidate information, appointment information, and accommodations. See View candidate registration details below for more information. |
Search for a roster
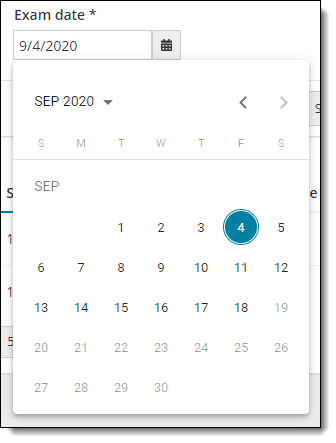
- Select a different date by typing in the Exam date in MM/DD/YYYY format or click on the calendar date picker
 button.
- A calendar opens where you can select a different date on the calendar.


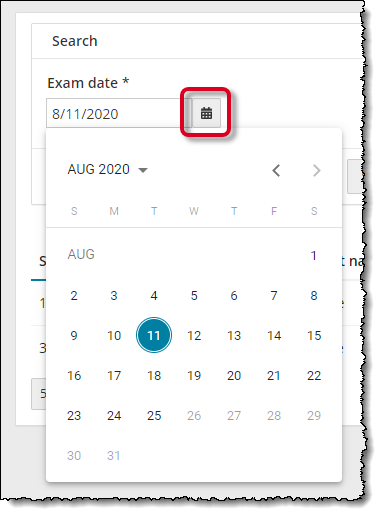
- To change the year, click on the MMM YYYY
 drop-down button in the upper left corner of the calendar picker and click on the desired year in the list, and then click on the desired month in the list.

Select year
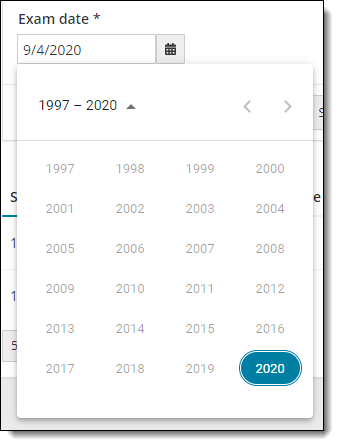
You may only select a date up to two weeks prior to the current date and two weeks following the current date. If the current date is within the first 13 days of January you may select the previous year, or if the current date is within the last 13 days of December you may select the next year.
Select month
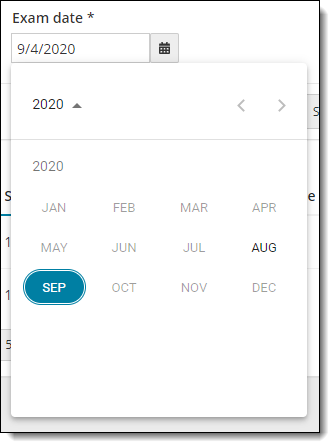
You may only select a date up to two weeks prior to the current date and two weeks following the current date. If the current date is within the first 13 days of the month you may select the previous month, or if the current date is within the last 13 days of the month you may select the next month.
- Click on the Previous Month
 or Next Month
  buttons to scroll through the months.
 - Click on a specific date on the calendar to select the date. The selected day is displayed in the exam date field. You are unable to select a date more than two weeks prior to or two weeks after the current date.


- A calendar opens where you can select a different date on the calendar.
- Click Search. The roster for the selected date is displayed.
- Click Clear search to return to the current day's roster.
Work with the roster list
Sort the roster
- By default, the roster is sorted in ascending order by Start time. A blue upward pointed triangle is displayed to the right of the column heading.
- Click the desired column heading. The list is sorted in ascending order by the selected column.
- Click the column heading again and the list is sorted in descending order.
Change the number of exam registrations displayed on the page
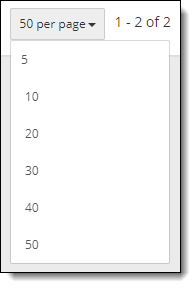
- By default, the number of candidates displayed on the roster is 50.
- To change the number of candidates displayed, click the # per page button
 .
. - Select the desired number of candidates from the list.


Scroll through the roster pages
- When there are more than 50 candidates on the roster, the additional candidates are displayed on multiple pages. You can scroll through the pages using the page selector
 buttons.
 - Click on the desired number to jump to the specific page group. (For example, 1-50, 51-100, etc.)
- Click the First page
 button to jump to the first page in the list.
 - Click the Previous page
 button to move to the previous page in the list.
 - Click the Next page
 button to move to the next page in the list.
 - Click the Last page
 button to move to the last page in the list.
Refresh the roster list
- Use the Refresh
 button to update the roster with new registrations, updated status, updated appointment times, or cancellations that have occurred since you last opened the roster. Changes are updated on the roster.
Filter the roster list
You can filter the roster list to locate a specific candidate or group of candidates.
- Click the Filter
 button. The filter fields are displayed below the column headings.


- Start typing in any of the filter fields. The list is dynamically filtered based on the string of characters you type. The field is not case sensitive. The system searches the field for the string of continuous characters you type.


- You can enter values in multiple columns to filter the list.


- Click the Accommodations drop-down and select Yes or No to search for appointments with or without accommodations.


- Click the Clear Filter
 button to clear out all the filter fields.
 - If you click the Filter
 button all filters are removed from the list, the filter fields are hidden, and the entire roster is displayed.
View candidate registration details
- Locate the desired candidate registration in the list.
- Click the View button for the desired candidate.
- The information regarding the candidate registration is displayed.


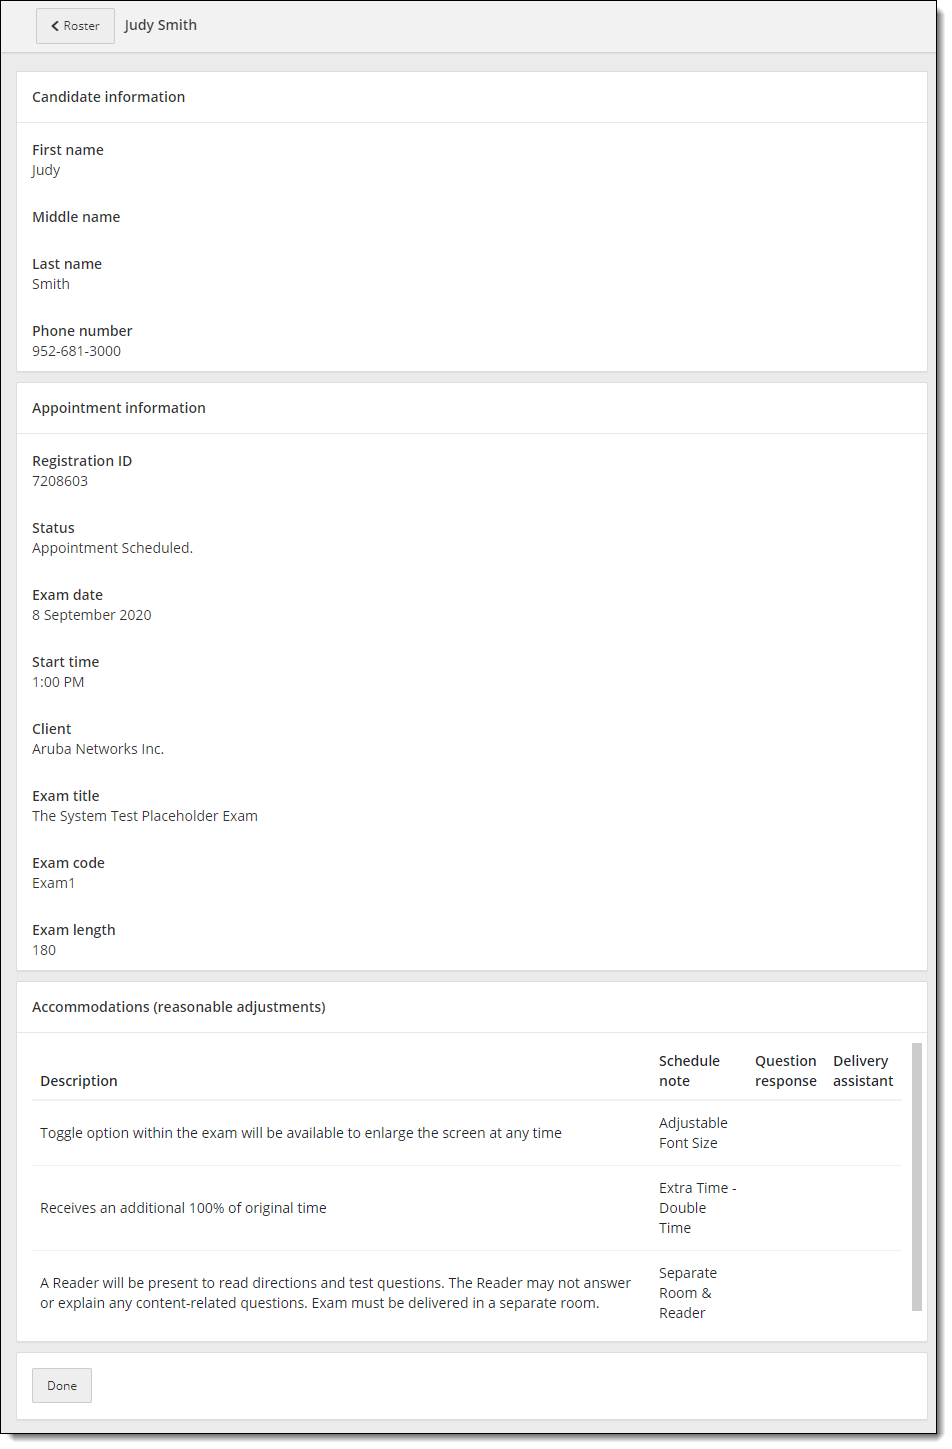
There are three sections displayed: Candidate information (candidate name and phone number), Appointment information (Registration ID, status, exam date, start time, client, exam title, exam code, and exam length), and Accommodations (reasonable adjustments) (Description, schedule note, question response, delivery assistant).
- Click the Done button to return to the roster.
Export the roster
You can export the roster so you can print it. You should filter the roster by desired calendar date and select the desired filters to narrow your search before exporting the roster. The system exports the filtered list.
- Open the desired roster.
- Apply the desired filters.
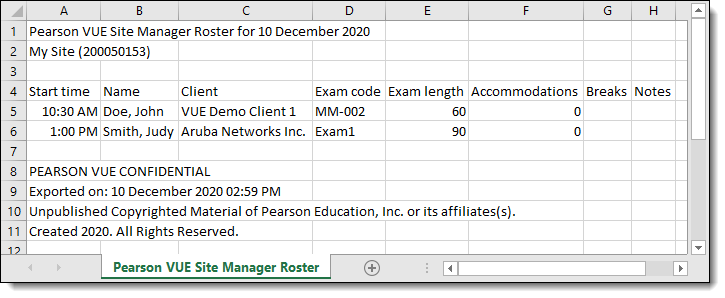
- Click the Export button at the top of the page. The list is exported as a Pearson VUE Site Manager Roster for <DD Month YYYY>.csv file which can be opened using Microsoft Excel or a text editor such as Notepad.


|
The exported file name is Pearson VUE Site Manager Roster for <DD Month YYYY>.csv. where the date is the selected calendar date of the roster list. |
- If you open the file in Excel, you can manipulate or filter the columns if needed.
- In addition to the list of exam appointments for the selected date, the file includes the file name and selected calendar date, site name, and Site ID, in the header above the list, and Pearson VUE copyright information, and the date and time the file was exported in the footer below the list.
Pearson VUE Proprietary and Confidential

