Calendar
It is important to check your site's schedule frequently using Site Manager or Admissions Manager. This section describes how to view the schedule in Site Manager. You cannot change the information as it appears on the schedule, but you can use it to check in advance how many exams your site will be delivering throughout the day. You can also view the scheduling details to see which exams candidates will be taking, if candidates have any assigned accommodations, and see a visual representation of workstations that have been assigned unavailability rules. You can also check the Roster to see the candidate and exam details and to check the schedule for future days or weeks to be aware of when candidates are scheduled to test at your site.
View the calendar
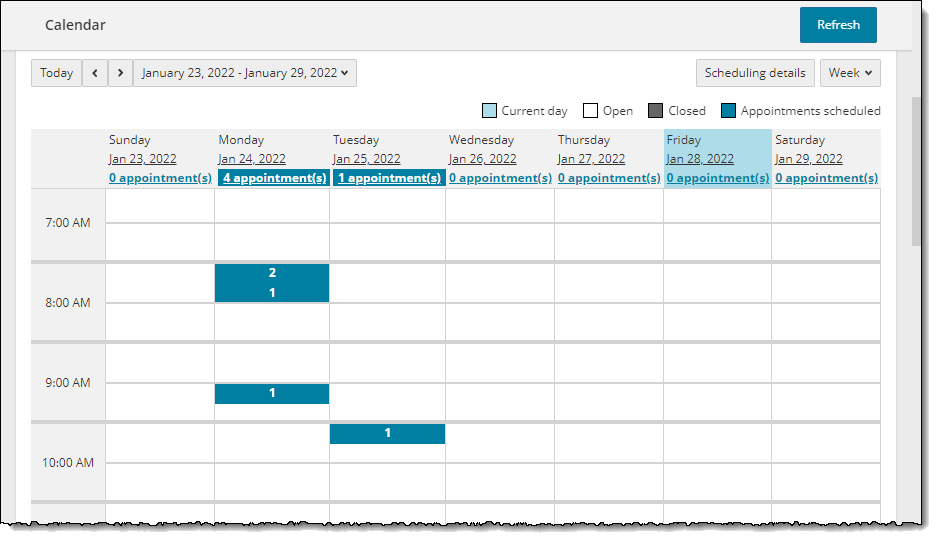
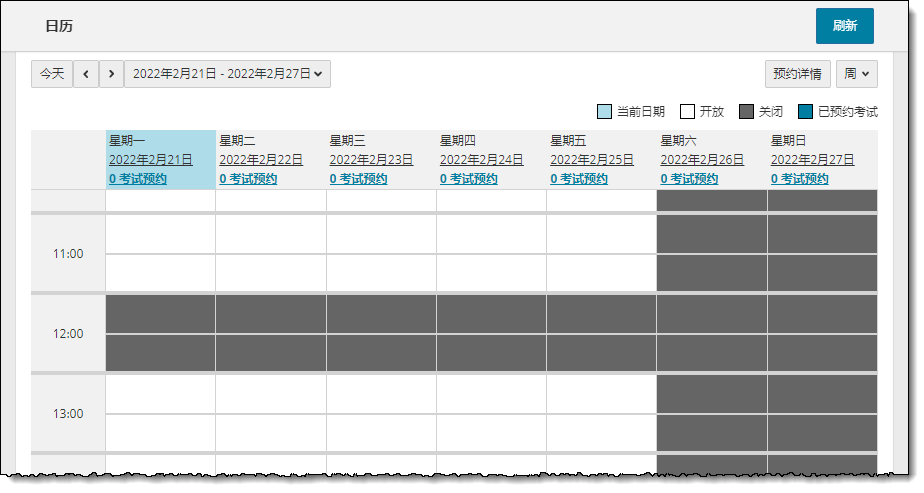
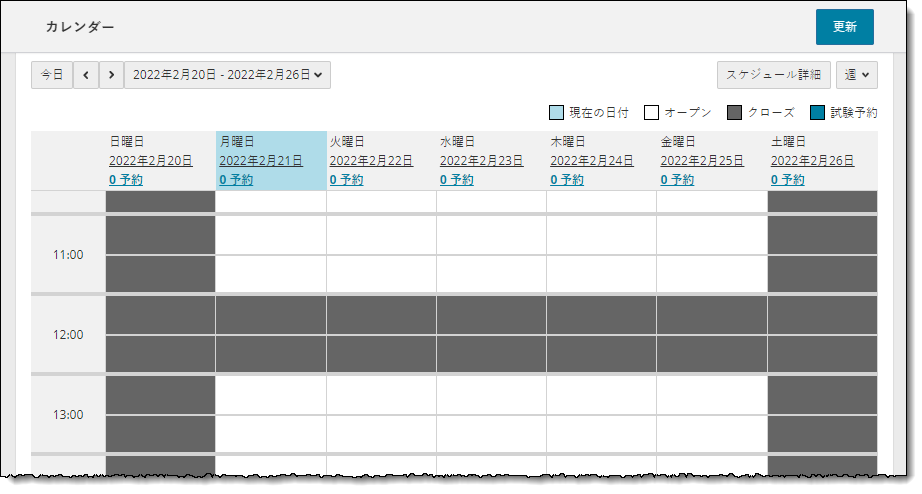
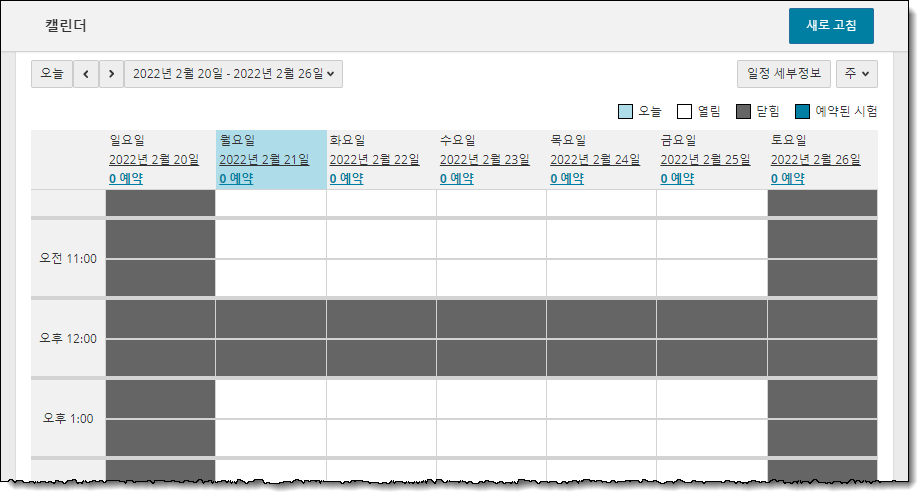
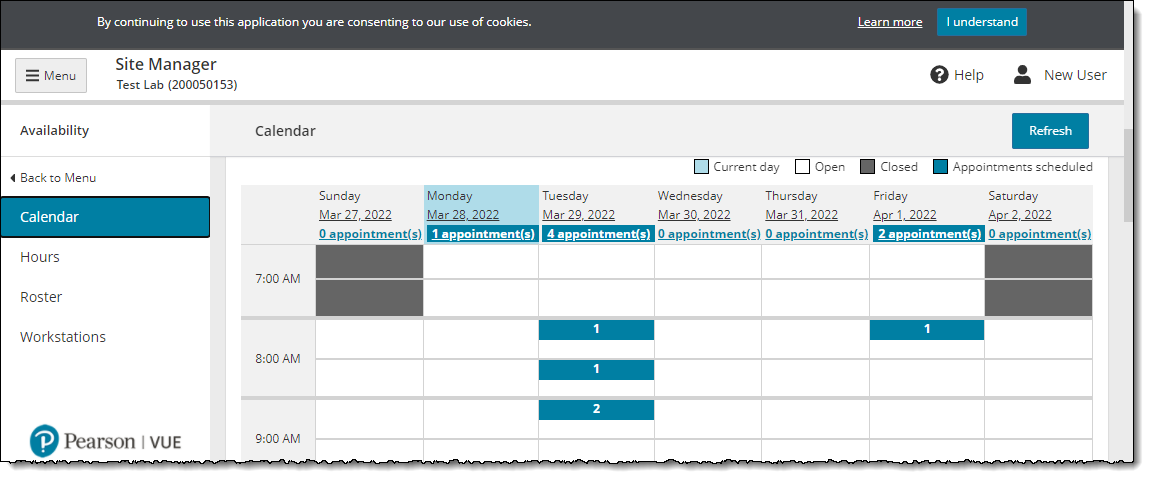
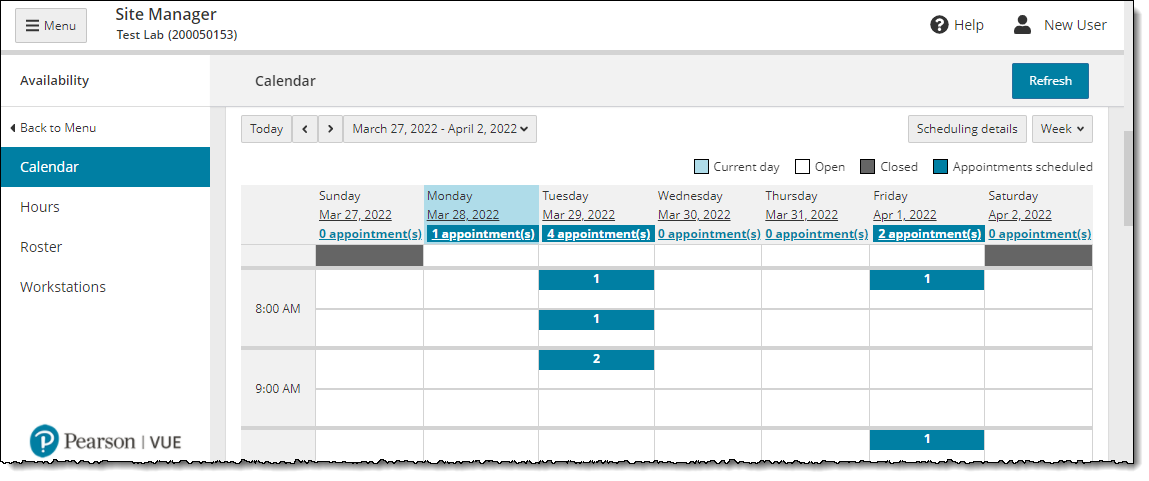
When you select the Calendar in the Availability category, a weekly calendar appears and displays when appointments are scheduled at your site.
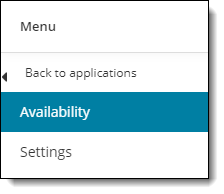
- Select the Availability category.


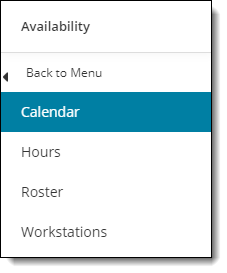
- Select the Calendar menu.


- The calendar opens to the current week view.


Calendar features
|
FEATURE |
DESCRIPTION |
|
Today button |
Use the Today button to quickly jump back to the current date in the selected calendar view. |
|
Previous button |
Use the Previous button to move back a Day, a Week, or a Month in the selected calendar view. |
|
Next button |
Use the Next button to move forward a Day, a Week, or a Month in the selected calendar view. |
|
Calendar Date picker button |
Use the Date picker button to select a specific day, week, month, three-month span, and/or year on the calendar. The calendar displays the selected day, the entire week for the selected day, the entire month for the selected day, or a three-month span starting with the selected week in the current calendar view. |
|
Refresh calendar button |
Use the Refresh calendar button to update the calendar with new registrations or cancellations that have occurred since you last opened the calendar. Changes are updated on the selected calendar view. |
|
Calendar View picker button |
Use the Calendar View picker to select the desired calendar view. Select a date in the calendar date picker and then:
|
|
Calendar key day, week, and Scheduling details view
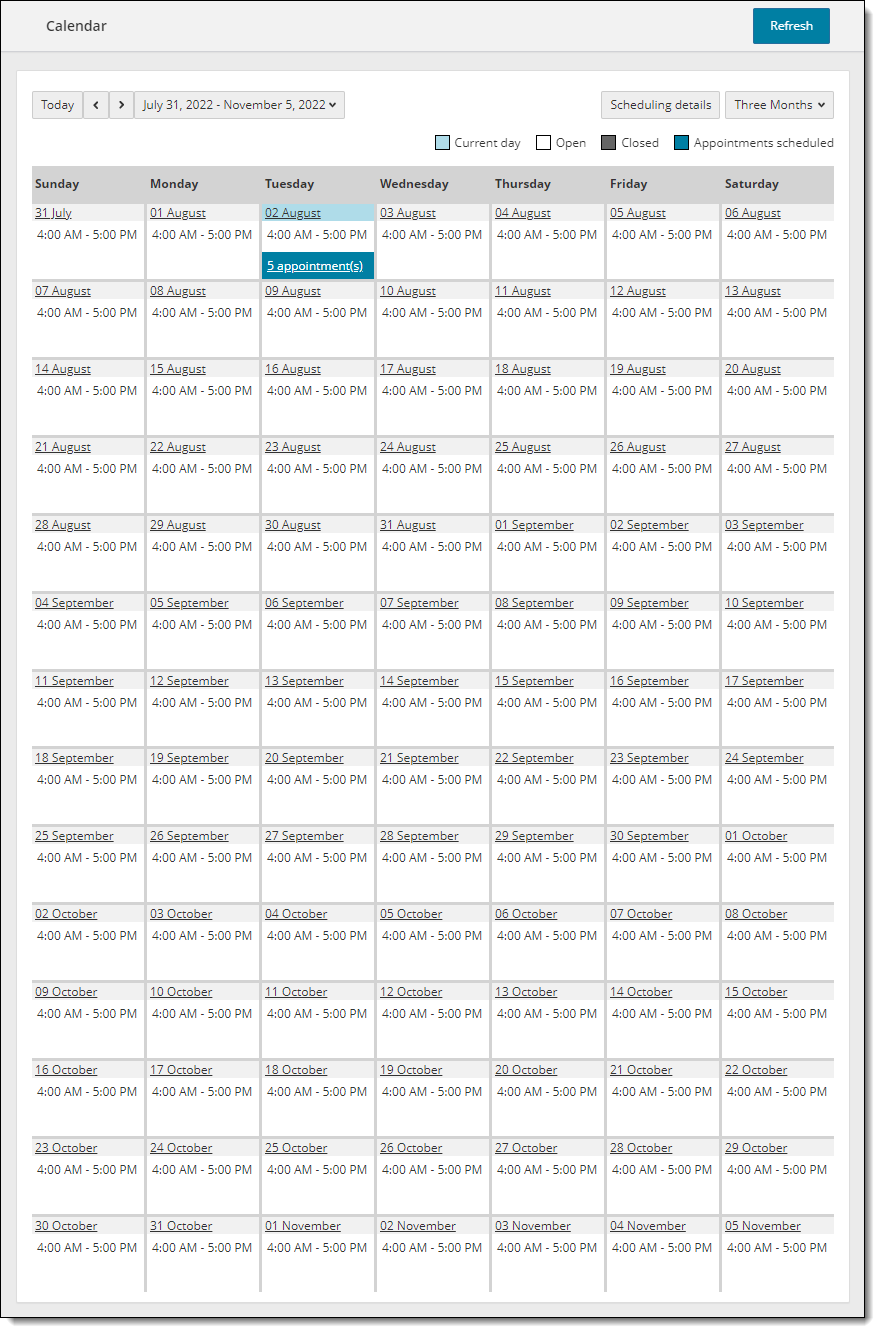
Calendar key month view |
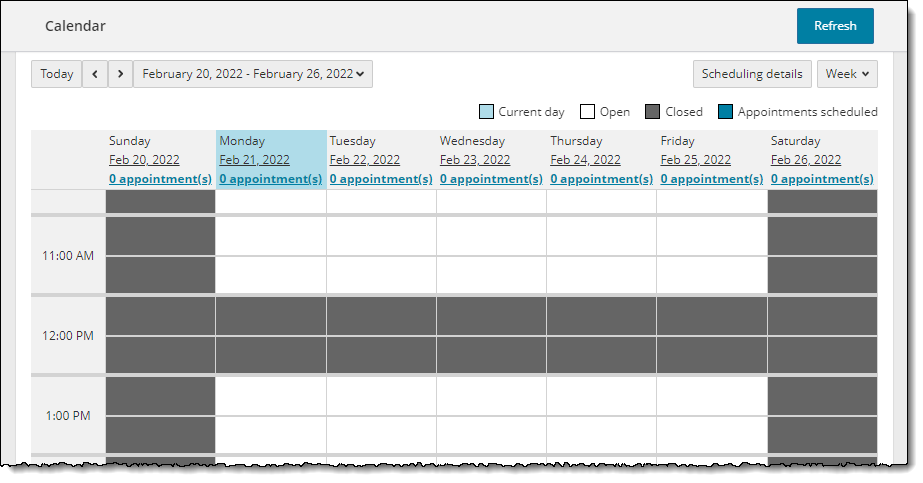
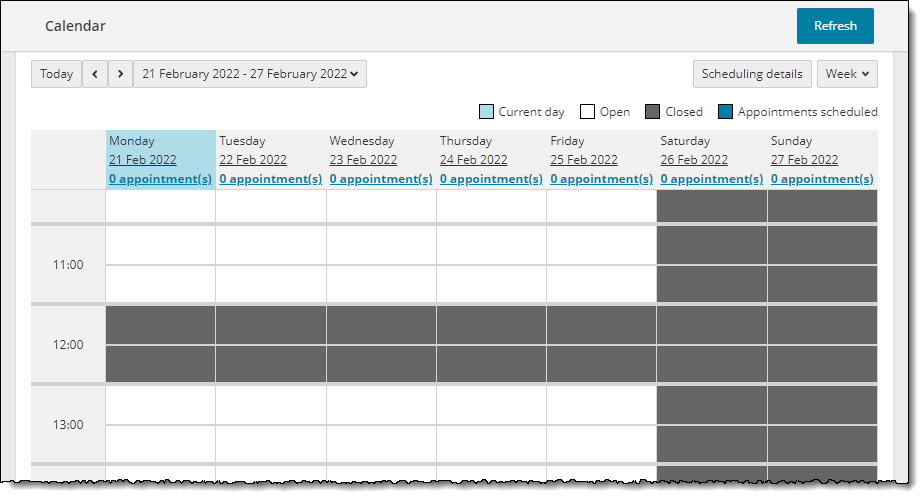
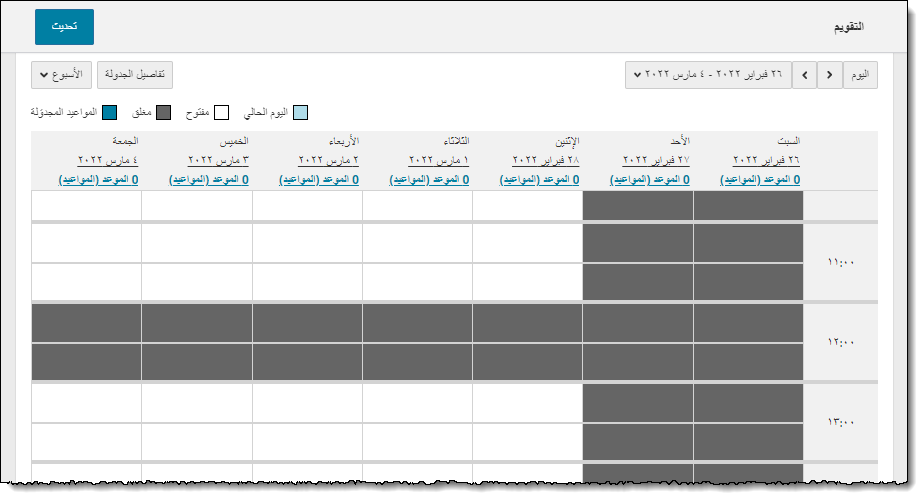
The Key in the upper right-hand corner of the page helps you understand the color coding on the calendar.
|
|
# Appts |
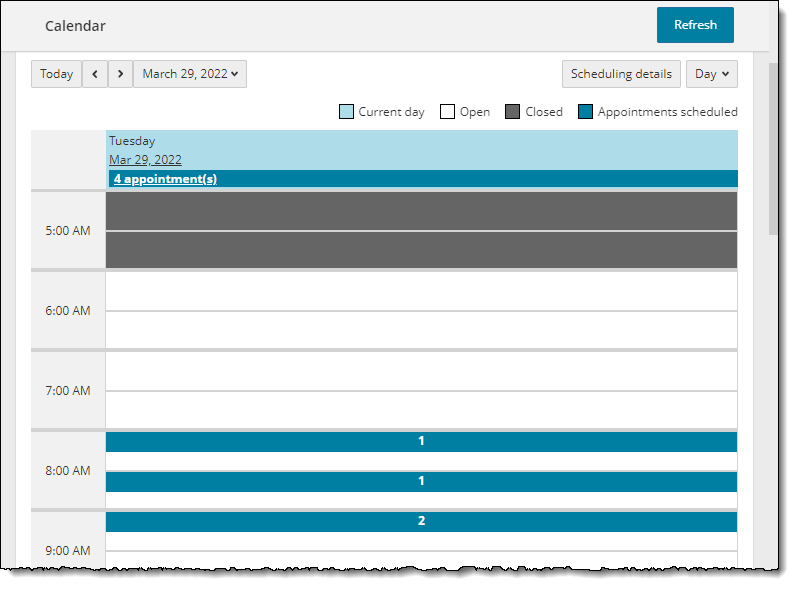
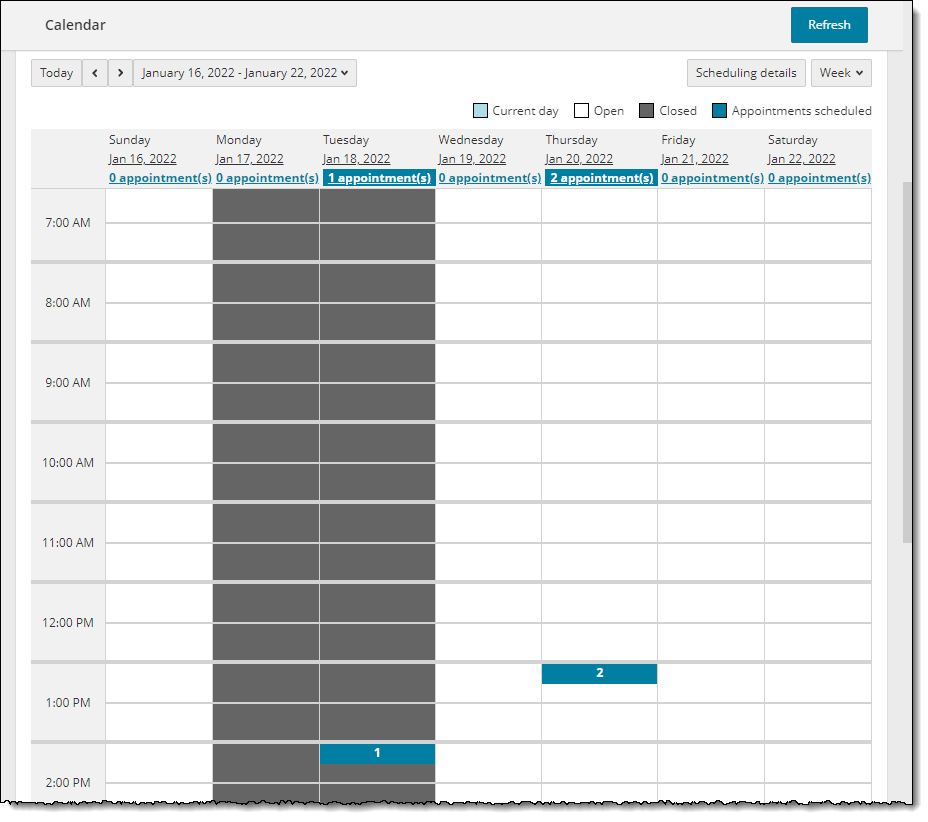
The space immediately below each date on the day and week calendars indicates the number of appointments scheduled at the site on that day. For example, there is one exam scheduled for Tuesday, January 25. If there are no appointments on a date, 0 appointments is displayed.
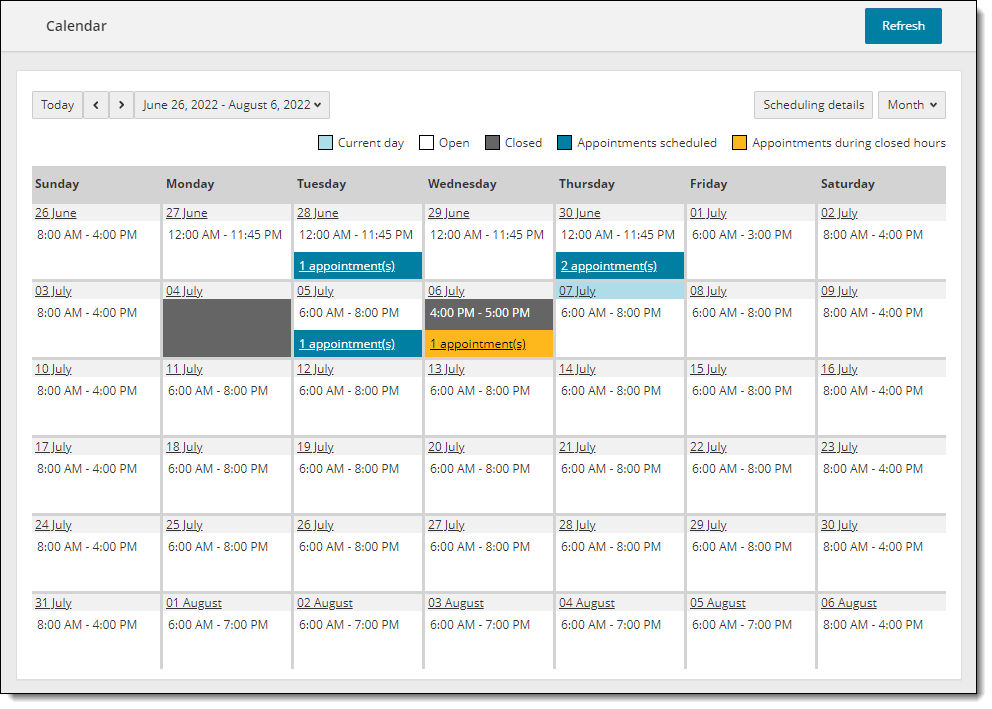
In the month view, each date displays the time the site opens for the first possible exam registration and the last available time of the day. This site is shows 6:00 AM - 6:00 PM. The site may be closed for a lunch break from 12:00 PM - 1:00 PM, but it still lists 6:00 AM - 6:00 PM displaying first and last available time at the site.
You can click on the date link in Day, Week, or Month view and the Day view for the selected date is displayed. You can click on the appointments link to view the Scheduling details. See View scheduling details below for details. |
|
Blue boxes with a number |
The blue bar with a number on the week and day calendar view indicates the number of appointments scheduled at the specific time for that date. The calendar displays the appointments in 15-minute increments. If there are no appointments scheduled at a specific time on the calendar when the site is open, the time slot is white and contains no numbers.
|
|
View scheduling details size |
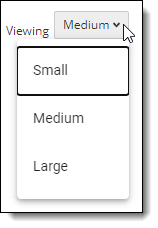
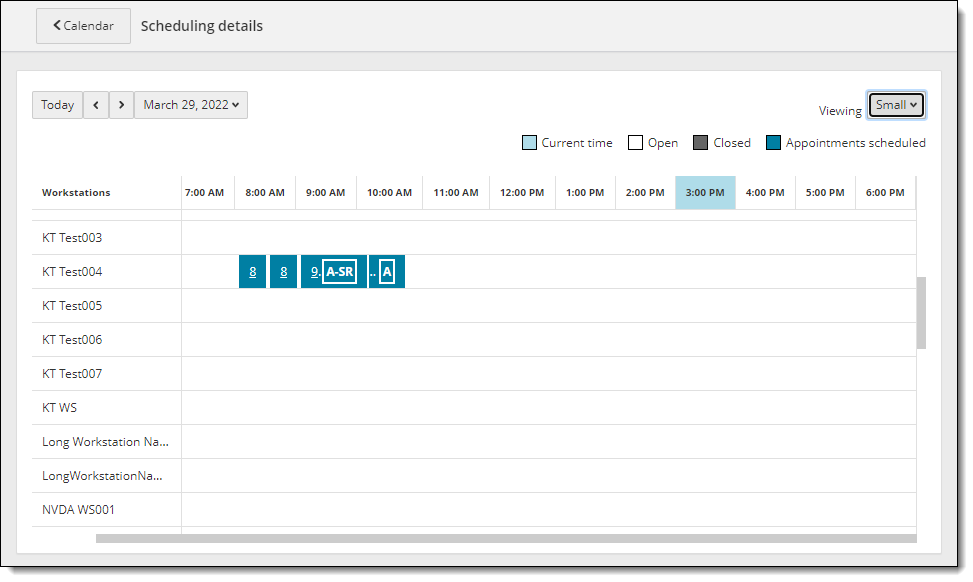
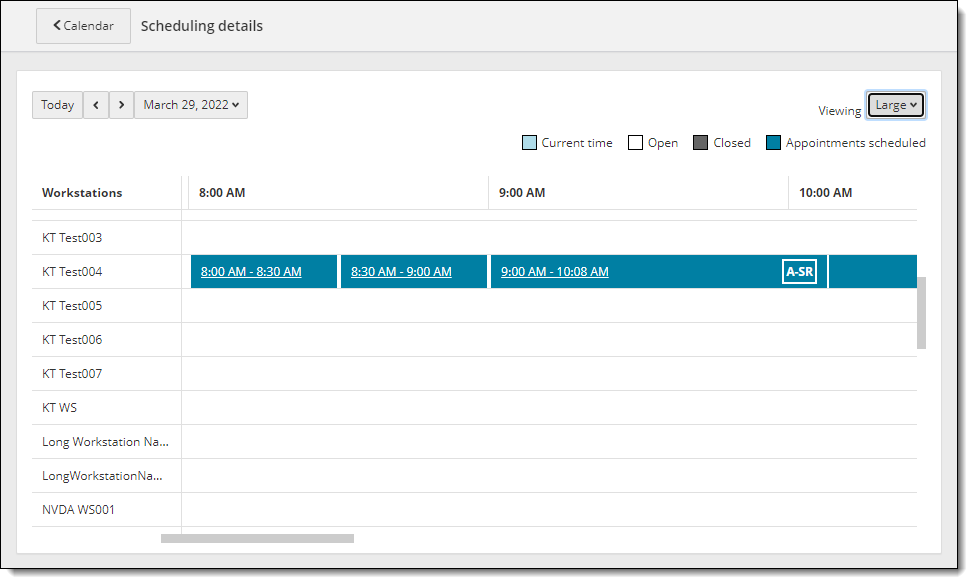
Select Small, Medium, or Large from the Viewing drop-down list to specify how many open hours you want to display on the scheduling details page. |
Change the calendar view
You can view your site's schedule in the Calendar by day, week, or month.
- Click the Calendar View picker button in the upper right-hand corner of the page.


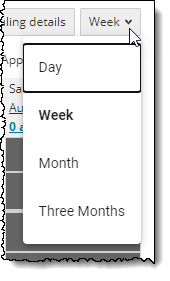
- Select the desired calendar view from the drop-down list.
- Use the Previous
 and Next
  buttons to move to the previous or next day, week, month, or 4 weeks in the selected calendar view.
 - Click the Calendar Date picker button to select a specific day, week, month, or three month view.
- Day
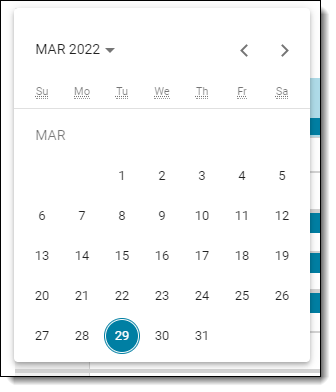
- To change the year, click on the MMM YYYY
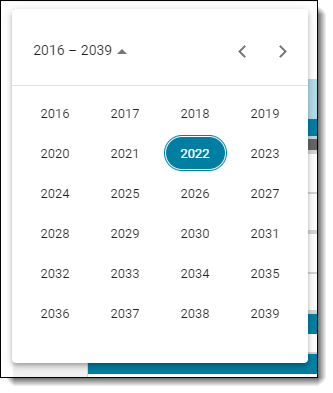
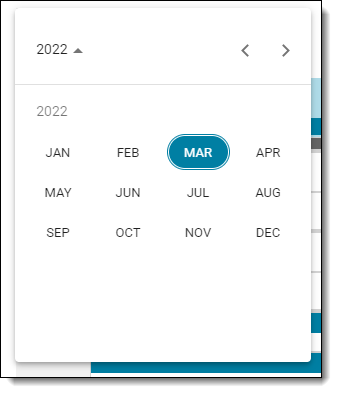
 drop-down button in the upper left corner of the calendar picker and click on the desired year in the list, and then click on the desired month in the list.

Select Year
Select Month
- Click on the Previous Month
 or Next Month
  buttons to scroll through the months.
 - Click on a specific date on the calendar to select the date. The schedule for the selected day is displayed.
- To change the year, click on the MMM YYYY
- Week
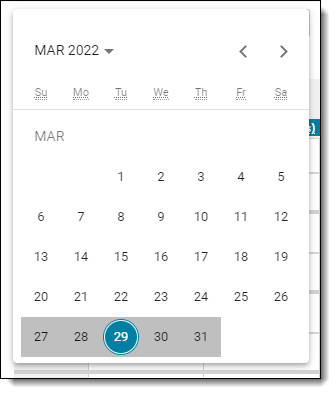
- To change the year, click on the MMM YYYY
 drop-down button in the upper left corner of the calendar and click on the desired year in the list, and then click on the desired month in the list.

Select Year
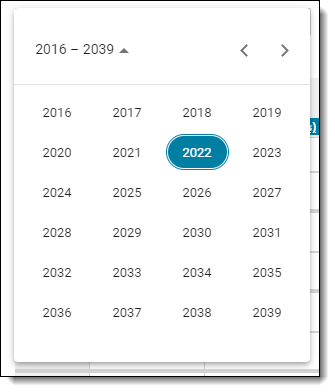
Select Month
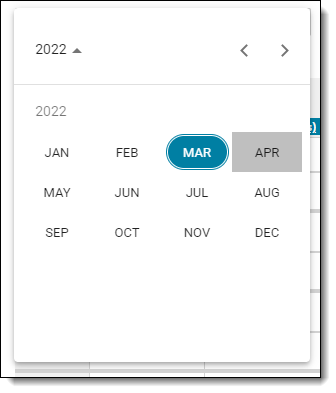
- Click on the Previous Month
 or Next Month
  buttons to scroll through the months.
 - Click on a specific date on the calendar to select the date. The week's schedule for the selected date is displayed.
- To change the year, click on the MMM YYYY
- Month
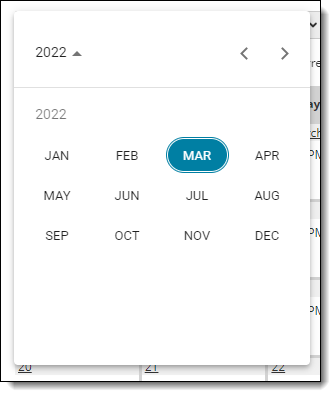
- To change the year, click on the Previous Year
 or Next Year
  buttons to scroll through the years.
 - Click on the desired Month in the list.
- To change the year, click on the Previous Year
- Three Months
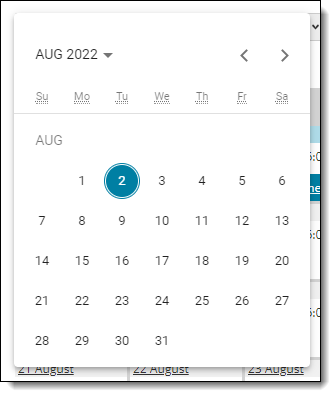
- To change the year, click on the MMM YYYY
 drop-down button in the upper left corner of the calendar and click on the desired year in the list, and then click on the desired month in the list.

Select Year

Select Month

- Click on the Previous Month
 or Next Month
  buttons to scroll through the months.
 - Click on a specific date on the calendar to select the date. The three month's schedule for the selected date is displayed.
- To change the year, click on the MMM YYYY
- Day
- After switching to different days, weeks, or months, click the Today
 button to quickly navigate back to the current date in the selected calendar view.
View scheduling details
- There are several ways to open the Scheduling details page from the Day, Week, Month, or Three Month view of the calendar.


- Click the Scheduling details button at the top of the page.
- Click # appointment(s) link for the desired date.
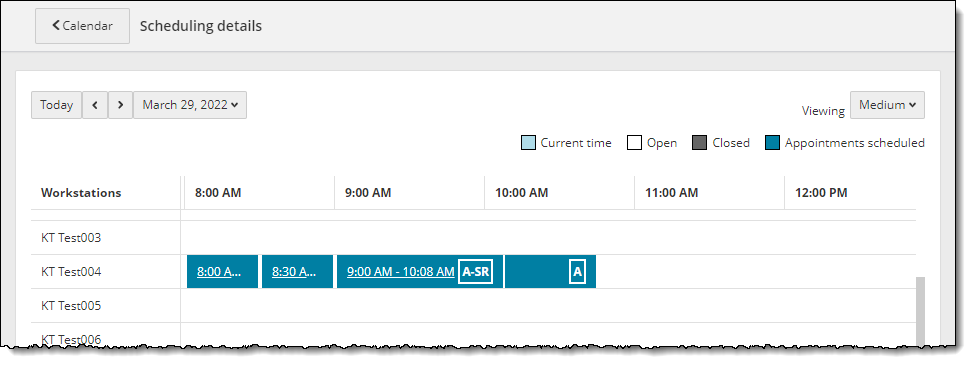
- The scheduling details page lists all the workstations at your site and the registration details. The following table describes all the details for the scheduling details page.
|
FEATURE |
DESCRIPTION |
|
Hours |
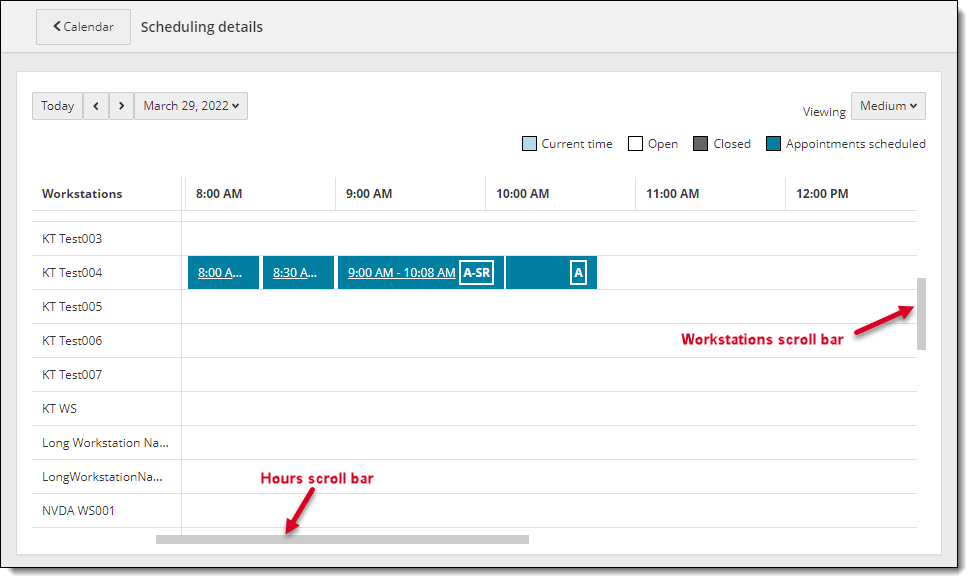
By default when you view the Scheduling details page, the Medium view is displayed. A subset of open hours is visible on the page. Two sets of scroll bars appear. The vertical scroll bar allows you to scroll up and down to view the complete list of workstations. The horizontal scroll bar allows you to scroll left and right to view all the open hours for the site. Use the scroll bar at the bottom of the window to scroll left and right through all the open hours at your site. Note: The number of rows and columns you see is dependent on your screen size. If you have many workstations and your site is open for a large range of hours, you will see the hours scroll bar and the workstations scroll bar.
|
|
Scheduling details View |
Click the Viewing drop-down list and select Small, Medium, or Large from the list.
The hours displayed either:
or |
|
Workstations |
Use the scroll bar on the right side of the page to scroll up and down through the list of workstations configured for your site. |
|
Current time Light blue |
The current time is highlighted in light blue.
|
|
Open hours White row |
Workstation is open for registrations if the row is white. |
|
Closed workstation Grey row |
Workstation has an unavailability rule applied to it. See the Work with Workstation Unavailability Rules topic for details. |
|
Appointment scheduled Blue block |
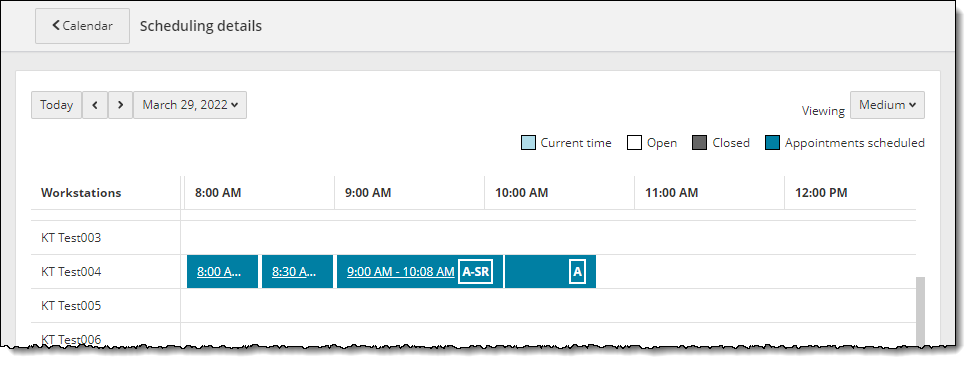
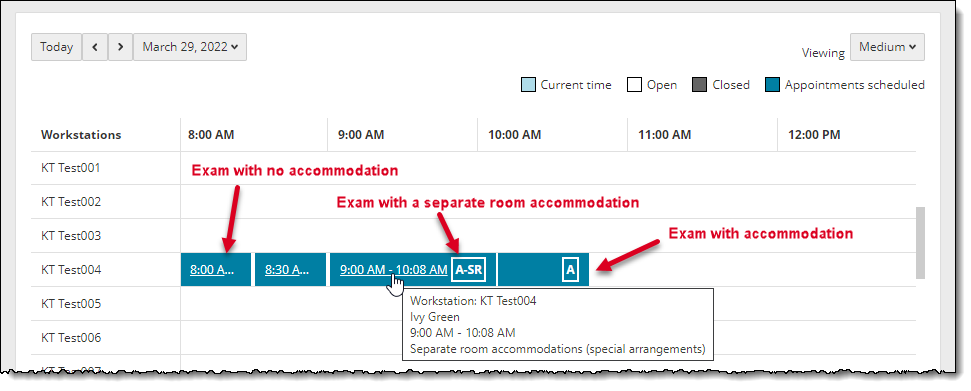
Appointment scheduled blocks display the length of the exam, the start and end time of the exam, and identifies if any accommodations are applied to the exam registration or reservation.
Exams with Accommodations are displayed with an A, exams with a separate room accommodation are displayed with an A-SR, and exams without any accommodations lists only the exam start and end time. You can hover over any exam registration or reservation to view the tool-tip for the exam block: Assigned workstation, Candidate name, exam start and end time, and the type of accommodation (if any).
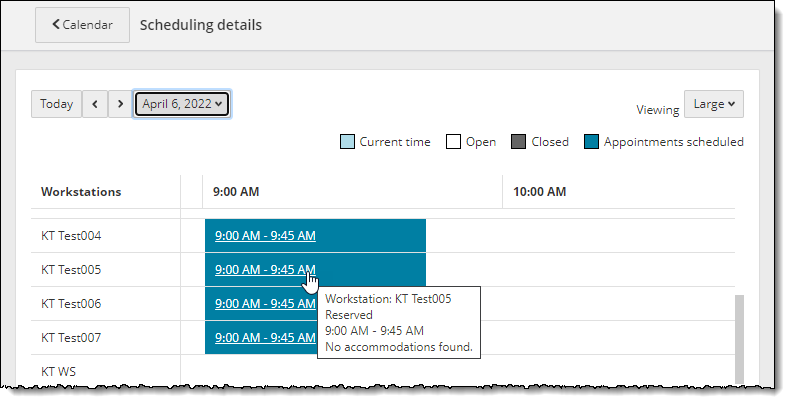
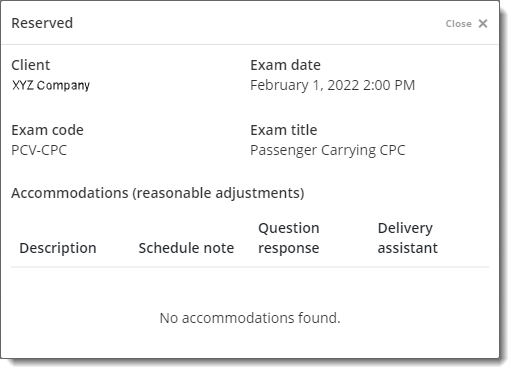
If a client books exam reservations rather than candidate registrations, the exam block lists Reserved rather than a candidate name. The hover over tool-tip lists: assigned workstation, Reserved, exam start and end time, and the type of accommodation (if any).
|
|
Overbooked workstation |
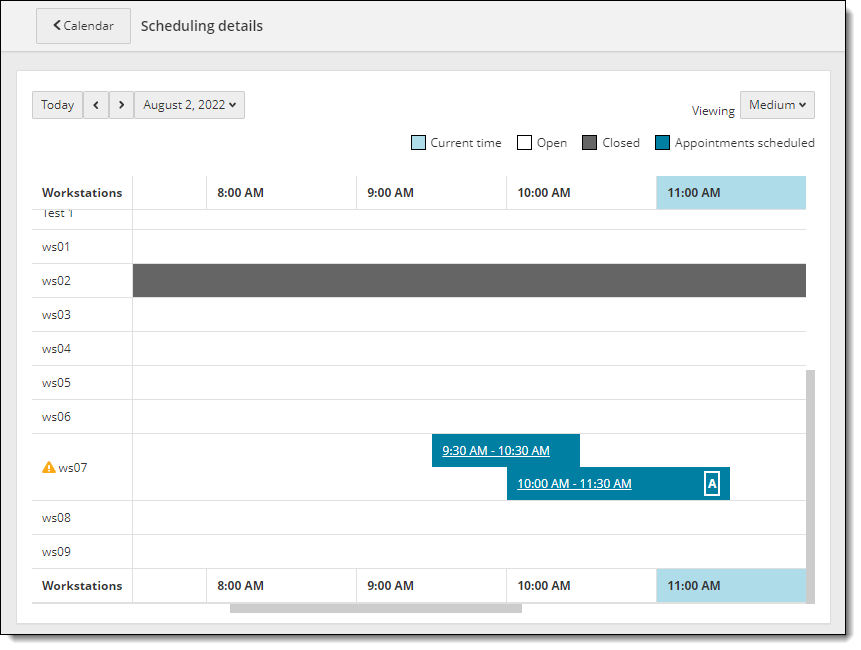
If a workstation is overbooked or has overlapping exam registrations, the overlapping registrations are stacked on top of each other in the overbooked workstation row and a warning icon is displayed before the workstation name. In this example one exam registration is from 9:30 - 10:30, and the other exam is from 10:00 - 11:30. You must move one of the exam registrations to a different workstation.
|
|
View exam details and Accommodations |
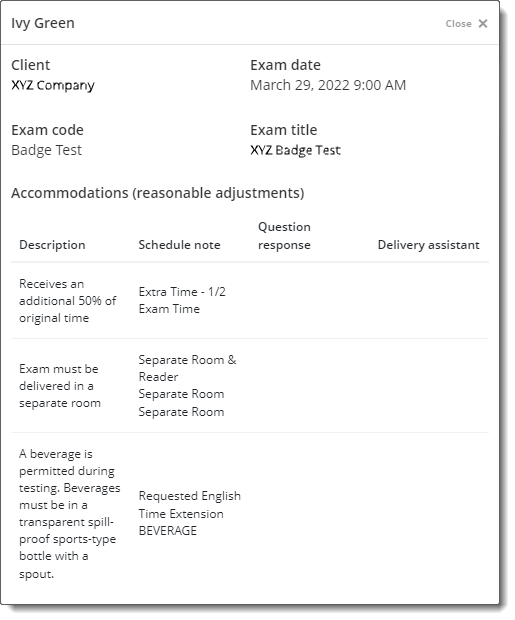
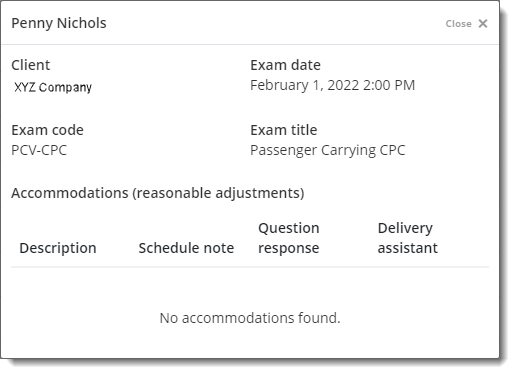
You can view the exam registration or reservation and the accommodation details by clicking on the exam block. A pop-up window opens to display all the details about the exam registration or reservation: candidate name, client, exam date and start time, exam code, exam title, and a list of any accommodations. Exam with a Separate room accommodation, plus assigned accommodations (if any)
Exam reservation, plus assigned accommodations (if any)
Exam registration, no accommodations
|
|
Registrations without an assigned workstation |
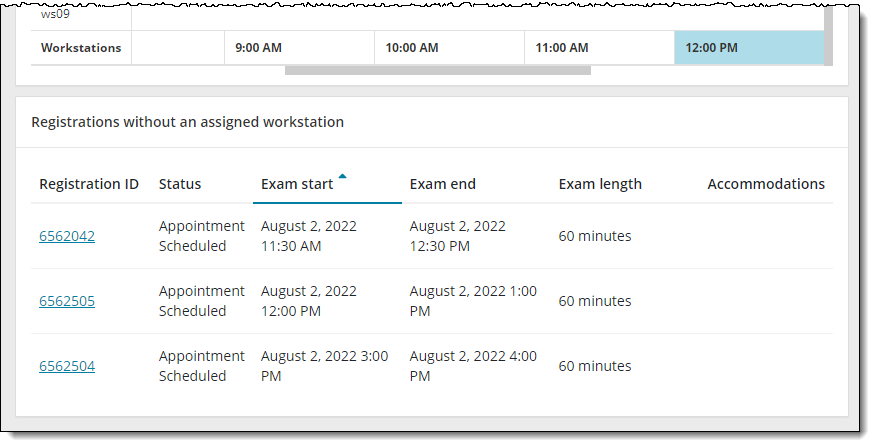
There are times test administrators may schedule exams without blocking a workstation. For example, they may want to schedule a TDFT exam to test certain functionality, or they may schedule a certification exam. The table listed below the calendar identifies all registrations without an assigned workstation.
|
Pearson VUE Proprietary and Confidential

 (Day)
(Day) (Week)
 (Three Month)


 (week view)
 (day view)