Edit site availability rulesCalendar graphic.

Note iconNote

Users without the May edit site information using Site Manager role can view the existing Site availability rules, but they are unable to add new rules or modify existing rules. Click to view the screenshot.Click to view the screenshot.

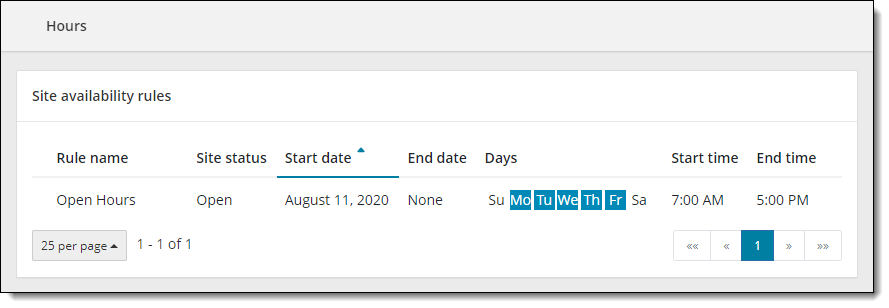
Hours page for users with view-only access.

Use the following steps to edit existing site availability rules.

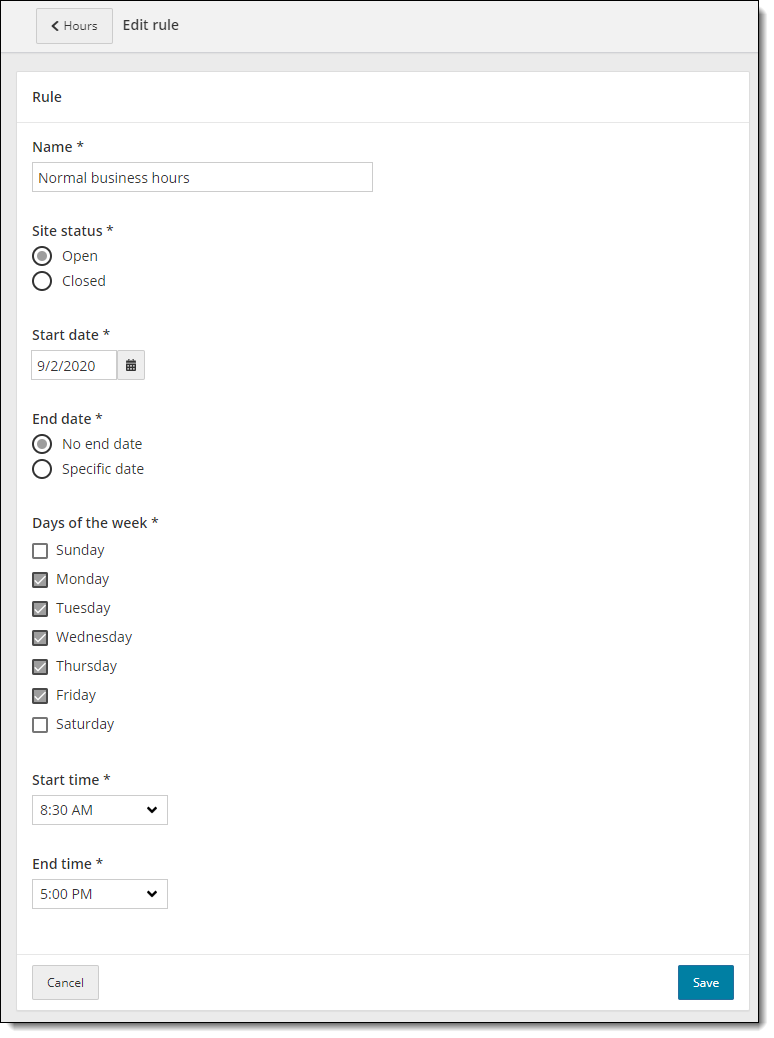
  1. Click the Edit button for the site availability rule you want to modify. The Edit rule page opens. Click to view the screenshot.Click to view the screenshot.

    Edit rule page.

  2. Modify the rule Name.
  3. Modify the Site status.
  4. Type in a Start date in the following format MM/DD/YYYY or click on the Start date calendar picker button to select a different date.
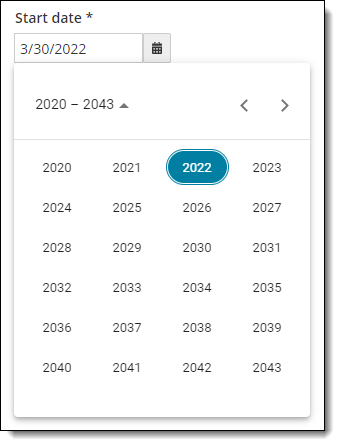
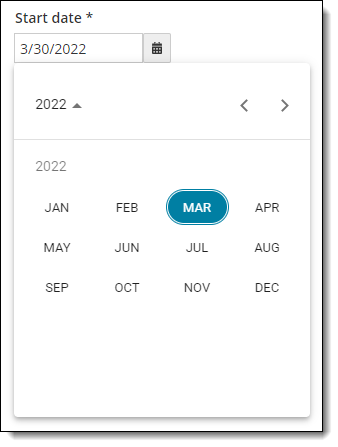
    1. To change the year, click on the MMM YYYY Change Month and Year in date-picker. drop-down button in the upper left corner of the calendar picker and click on the desired year in the list, and then click on the desired month in the list. Click to view the screenshot.Click to view the screenshot.

      Select year

      Select the year from the year drop-down list.

      Select month

      Select the desired month from list.

    2. Click on the Previous Month Move to the previous month button. or Next Month Move to the next month button. buttons to scroll through the months.
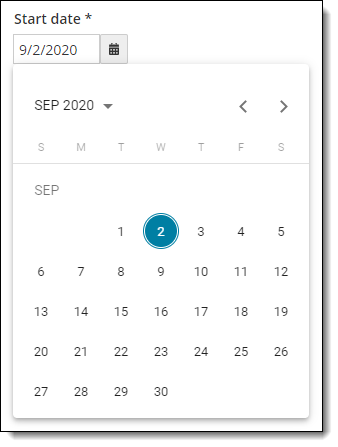
    3. Click on a specific date on the calendar to select the date. The selected day is displayed in the start date field. Click to view the screenshot.Click to view the screenshot.

      Start date calender picker.

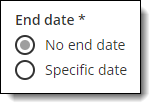
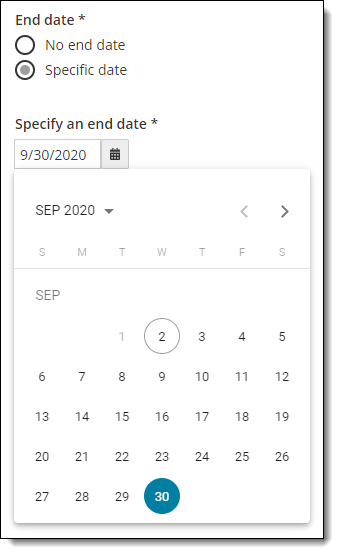
  5. Select No end date or select Specific date and use the calendar picker to select the end date. Click to view the screenshot.Click to view the screenshot.

    Opne hours with no end date.

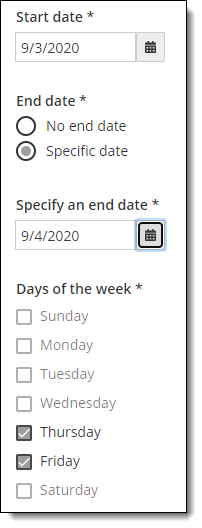
    Open hours with a specfic end date.

  6. Select the specific days of the week the site will be open or closes for exam delivery. Make sure and deselect any days of the week in which the rule does not apply.

Note iconNote

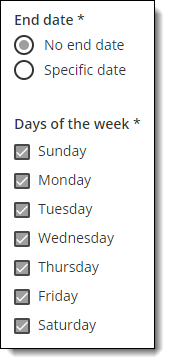
If you specify no end date you may select every single day of the week. Click to view the screenshot.Click to view the screenshot.

Select the days of the week for open rule with no end date.

If you specify a start date and end date and the date range is less than 7 days, the system identifies which days of the week you may select. Click to view the screenshot.Click to view the screenshot.

Select days of the week for open rule with specific end date.

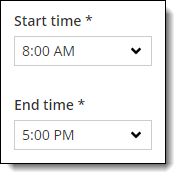
  1. Select the Start time and End time from the drop-down lists. Click to view the screenshot.Click to view the screenshot.

    Select start and end time.

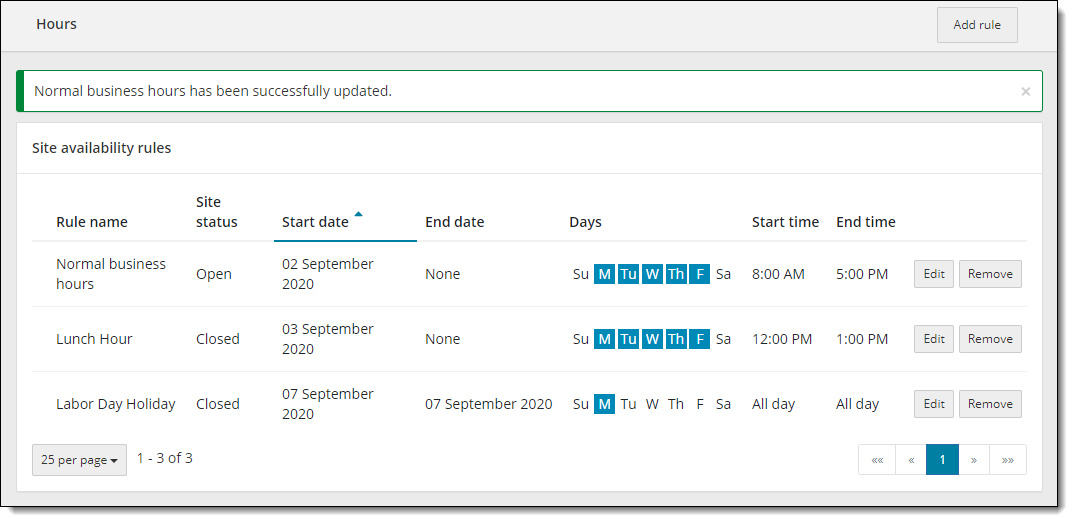
  2. Click Save. A message notifies you the rule has been updated. Click to view the screenshot.Click to view the screenshot.

    Site availability rule successfully updated.

Note iconNote

Date and Time formats display differently depending on which user interface language Click to view the screenshot.Click to view the screenshot. you have selected for the Connect portal, and the selected browser display language.

Select Connect user interface language drop-down list.

  1. When you have selected English as your user interface language, and your browser display language is set to English (United States), the date format is MM/DD/YYYY. The first day of the week is Sunday. The time format is AM/PMClick to view the screenshot.Click to view the screenshot.

    English (United States) date and time format for hours.

  2. When you have selected English as your user interface language, and your browser display language is set to English (United Kingdom), the date format is DD/MM/YYYY. The first day of the week is Monday. The time format is 24 HRClick to view the screenshot.Click to view the screenshot.

    English (United Kingdom) date and time format for hours.

  3. When you have selected Arabic as your user interface language, the date format is YYYY/M/D. The first day of the week is Saturday. The time format is 24 HR. Click to view the screenshot.Click to view the screenshot.

    Arabic date and time format for hours.

  4. When you have selected Chinese as your user interface language, the date format is YYYY/MM/DD. The first day of the week is Monday. The time format is 24 HR. Click to view the screenshot.Click to view the screenshot.

    Chinese date and time format for hours.

  5. When you have selected Japanese as your user interface language, the date format is YYYY/MM/DD. The first day of the week is Sunday. The time format is 24 HR. Click to view the screenshot.Click to view the screenshot.

    Japanese date and time format for hours.

  6. When you have selected Korean as your user interface language, the date format is YYYY.MM.DD. The first day of the week is Sunday. The time format is AM/PM. Click to view the screenshot.Click to view the screenshot.

    Korean date and time format for hours.


You must enter the date and time format that matches the selected language.


Pearson VUE Proprietary and Confidential